
Watch the video above for the walkthrough, step by step, then read on for the practitioner detail and troubleshooting you need.
Why getting your setup right matters
You can learn Python syntax from a tutorial. But if your environment is not set up properly, you will spend your time fighting installation errors instead of writing code. In finance work, a broken environment costs you: you miss deadlines on reporting pipelines, you cannot run risk calculations, you get blocked waiting for someone else to fix your machine.
A working environment is your foundation. It means you can open a terminal, type a command, and run real code without fuss. It means your code will work on another machine, or another person's machine, because you have captured your exact dependencies. It means you can upgrade Python next year without breaking the code you wrote today.
This matters in practice. It is the difference between "I can write Python" and "I can ship Python that works in production".
Before you install: check what you already have
Do not assume your machine is blank. Many companies have Python installed already, often an old version or installed in a restricted way by IT.
Open a terminal (Command Prompt on Windows, Terminal on macOS or Linux) and type:
python --version
If you get a version number, take note of it. If the response is "command not found" or "not recognised", move to the next step. If you have Python 3.9 or newer, you have a usable base to work with. Anything older than 3.9 and you should replace it.
Also check whether you have pip (the package installer):
pip --version
If pip is missing but Python is present, you have a partial install that will frustrate you later. Plan to reinstall cleanly.
Download and install Python
Go to python.org and download the latest stable release. The current version is Python 3.13. Do not download from your app store, a cloud link, or anywhere else but the official source. The official site is the only place to guarantee you have an unencumbered, current copy.
When you run the installer, there is one critical step: tick the box that says "Add Python to PATH". This is how your system finds Python when you type python in the terminal. If you miss this, you will hit the most common frustration: "Python is installed but I cannot run it from the command line".
On Windows, choose "Install for all users" if you have admin rights. On macOS, the official installer works smoothly. On Linux, use your system package manager (apt on Debian, brew on macOS if you prefer it to the official installer).
Close the installer when it finishes. Do not open a terminal yet; restart your computer. This ensures PATH changes take effect properly.
Verify your installation from the command line
Open a fresh terminal and type:
python --version
You should see Python 3.13 (or your installed version). Now type:
pip --version
You should see a version number and a path pointing to your Python installation. If both commands work, you have a working Python. Do not skip this step. It takes 30 seconds and it confirms the entire installation worked.
Now test that Python actually runs code:
python -c "print('Hello from Python')"
You should see the text printed back to you. If this works, your Python is real and connected to your terminal. If it does not, you have a PATH or installation issue. Run through the installer again and confirm you ticked "Add Python to PATH".
Create a virtual environment for your finance work
This is the moment where many people get lost, so let's be concrete about what a virtual environment is and why you need one.
A virtual environment is a folder containing an isolated Python installation with a specific set of packages. When you activate it, your terminal uses that Python instead of your system Python. This means:
- You can install pandas version 2.0 in one project and pandas version 1.5 in another without conflict.
- You can upgrade a package without breaking code that depends on an older version.
- You can give your code and your environment file to a colleague, and it will run identically on their machine.
- You keep your system Python untouched, so system tools that depend on it keep working.
In finance, this matters: a regulatory report that worked last month should still work this month. A virtual environment makes that possible.
Create a project folder somewhere sensible. Let's call it finance_work:
mkdir finance_work
cd finance_work
Now create a virtual environment inside it:
python -m venv env
This command creates a folder called env that contains a complete Python installation. Activate it:
On macOS or Linux:
source env/bin/activate
On Windows (Command Prompt):
env\Scripts\activate
On Windows (PowerShell):
env\Scripts\Activate.ps1
When the virtual environment is active, you will see (env) at the start of your terminal prompt. This is your confirmation that you are using the isolated Python, not the system one.
If you are on Windows and PowerShell refuses to activate the environment because of execution policy, run this once in an admin PowerShell: Set-ExecutionPolicy RemoteSigned. Then try activation again. This is a Windows security measure; it does not weaken your system.
Choose and configure a code editor
You could write Python in Notepad and run it from the terminal. But a code editor makes your life much easier. The most common choice for finance teams is Visual Studio Code (VS Code). It is free, lightweight, and has excellent Python support.
Download it from code.visualstudio.com. Install it normally. When you open it, go to the Extensions panel on the left (the icon that looks like four squares) and search for "Python". Install the extension from Microsoft. That is the official one.
Now open your finance_work folder in VS Code: File > Open Folder, then choose the finance_work directory you created earlier. VS Code will see the env folder and often detect the virtual environment automatically. If not, use Ctrl+Shift+P on Windows or Cmd+Shift+P on macOS to open the command palette and search for "Python: Select Interpreter". Choose the one that shows env/bin/python or env\Scripts\python. This tells VS Code to use your virtual environment.
You are now ready to write code in a proper editor.
Install the packages you will use
Make sure your virtual environment is still active (you should see (env) in your terminal). Now install the packages you will need for finance work.
pip install pandas numpy requests openpyxl
This single command installs four packages and all their dependencies:
- pandas: data manipulation and analysis. This is your main tool for working with cash flows, positions, and regulatory data.
- numpy: numerical computing. Pandas depends on it; you will use it for calculations.
- requests: making HTTP calls to APIs and web services. Useful for pulling market data or posting to internal systems.
- openpyxl: reading and writing Excel files. In finance, Excel is everywhere, so this matters.
The pip command runs and prints a lot of output. Let it finish. When it says "Successfully installed", you are done.
Verify the install:
pip list
You will see the packages and their versions. Save this information: it is part of your environment specification. Better yet, create a requirements.txt file so you can reproduce this environment later:
pip freeze > requirements.txt
This writes a file containing every package version you have installed. A colleague or a new machine can recreate your exact environment in seconds:
pip install -r requirements.txt
Test your setup with a working example
Now write actual code to confirm everything works end to end. Create a file called test.py in your finance_work folder:
import pandas as pd
import numpy as np

# Create a simple dataset: daily cash positions
dates = pd.date_range('2024-01-01', periods=10)
positions = np.random.randint(100, 1000, size=10)

df = pd.DataFrame({
    'date': dates,
    'position_gbp': positions
})

print(df)
print(f"\nAverage position: £{df['position_gbp'].mean():.0f}")
Open test.py in VS Code. At the top right, you will see a play button. Click it (or press Ctrl+F5). The code runs and you see output in the terminal pane:
        date  position_gbp
0 2024-01-01           547
1 2024-01-02           834
2 2024-01-03           612
3 2024-01-04           721
4 2024-01-05           456
5 2024-01-06           889
6 2024-01-07           501
7 2024-01-08           702
8 2024-01-09           618
9 2024-01-10           845

Average position: £670
This is a real, working toolchain. You have Python, a virtual environment, a code editor, pandas, and you have just run code that loaded, processed, and printed data. Everything is connected.
Troubleshoot the three common install problems
Problem 1: "Python command not found"
You installed Python but the terminal cannot find it. This is a PATH issue.
Fix: Reinstall Python. Make absolutely sure you tick "Add Python to PATH" during installation. Restart your computer. Open a fresh terminal and try again.
If you are on Windows and you see multiple Python installations when you search your system, uninstall all of them from Control Panel. Then install only the latest version from python.org. The app store version may have restrictions that cause PATH issues.
Problem 2: "Module not found" when running code
You write import pandas and get an error saying the module does not exist.
Fix: Confirm your virtual environment is active. You should see (env) in your terminal prompt. If not, run source env/bin/activate (macOS/Linux) or env\Scripts\activate (Windows). Then run pip install pandas again. If you have multiple Python installations, make sure pip is installing to the right one. Run pip show pandas to see the path where pandas is installed. It should be inside your env folder.
Problem 3: "Permission denied" on macOS or Linux
You try to install a package and get a permission error.
Fix: Do not use sudo pip install. Ever. This installs the package to your system Python, not your virtual environment, and breaks the isolation you created. Instead, confirm your virtual environment is active and reinstall without sudo. If you get a permission error even with an active virtual environment, your environment may not have activated correctly. Deactivate it (deactivate), delete the env folder (rm -r env), create a new one, activate it, and try again.
What to do next
You now have a working Python environment. Your next step is to learn the language itself. Read our guide on Python fundamentals for finance to understand the core ideas and see where Python fits in your finance work.
When you are ready to move from syntax to real data, work through Reading a liquidity position with pandas. That article walks you through a realistic scenario: loading cash flow data, calculating metrics, and producing a report. You will use the exact environment you have just built.
Keep your environment active as you work. Each time you open a terminal to code, activate the virtual environment before you start. It takes one line. It saves you from months of confusion. Bookmark this guide; you will return to troubleshoot for others.
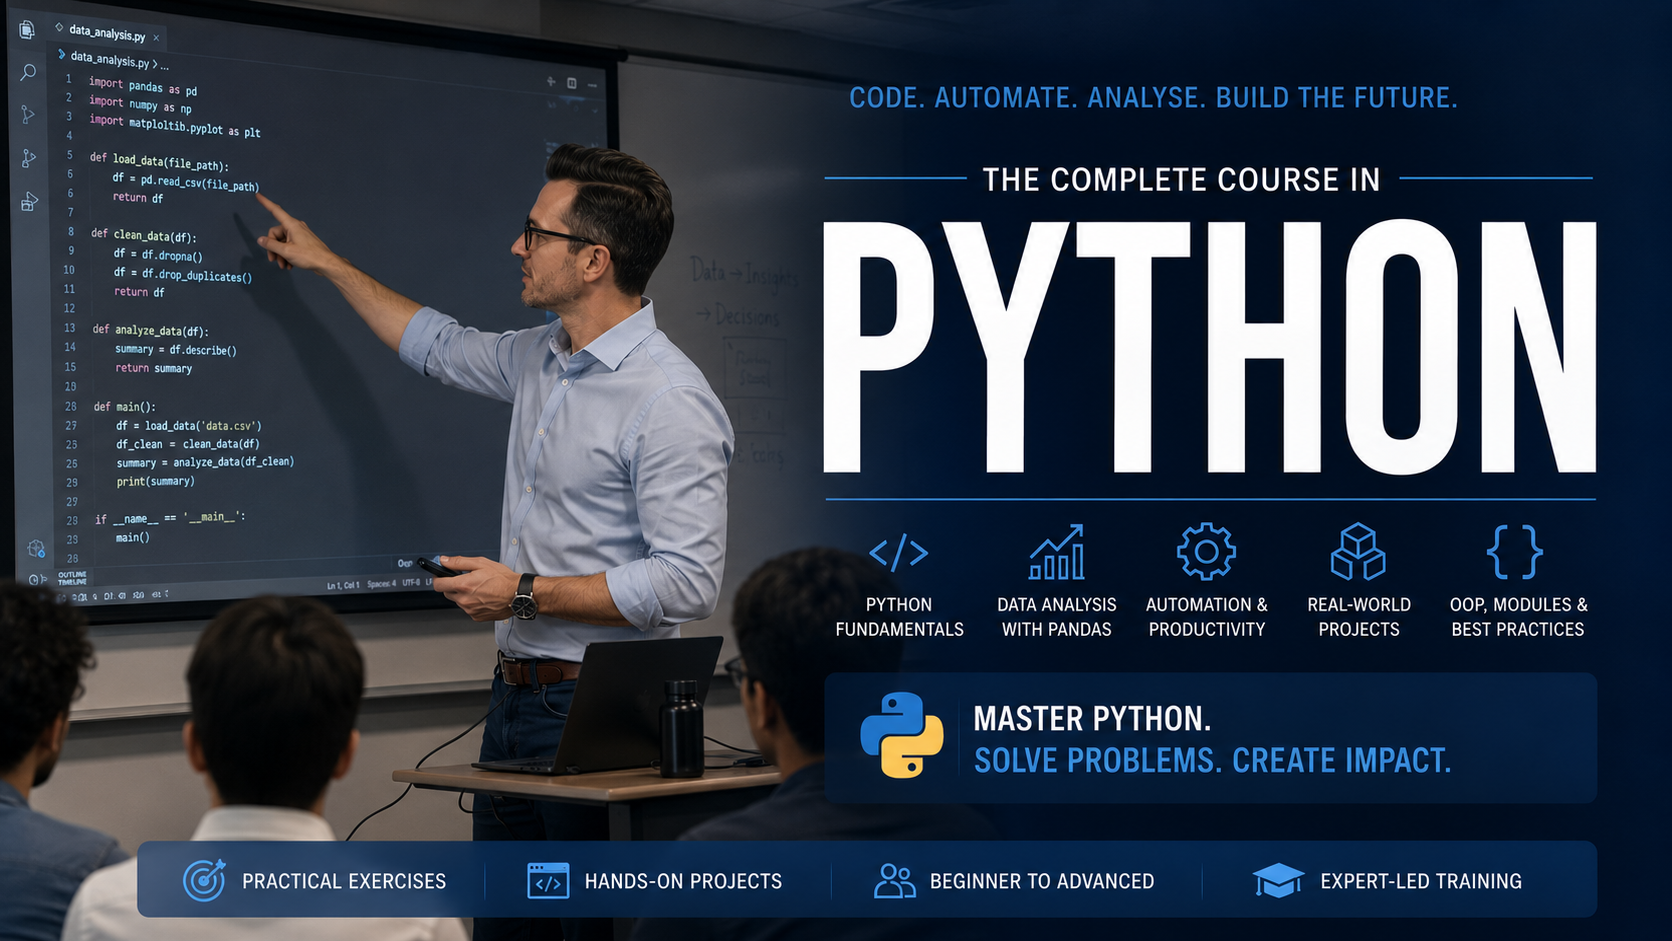
The Complete Python Course
Welcome to the most practical and beginner friendly Python Bootcamp Course on YouTube.
Take the courseGet the next one in your inbox
A weekly note across Finance & Treasury, Innovation & Automation and Career Development. No spam, unsubscribe any time.
Notes across finance and treasury, innovation and automation, and career development, written by practitioners who do the work.


